Setup for Indoor Cycle Bike
- By Morgan Horton
- June 3, 2021
Whether you’re brand new to Fly or a seasoned veteran, it’s always good to check in on your cycle bike setup to make sure you’re fitted correctly. A poor fit on your bike can increase risk of injury, encourage use of incorrect muscles or just be plain uncomfortable.
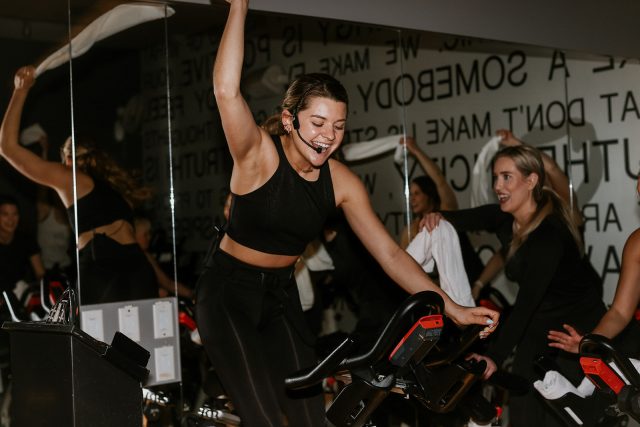
To get the best fit for your indoor cycle bike setup, there are three main categories of adjustments, whether you’re on a Stages bike at our SOLNK or Fargo studios, or on a Schwinn bike at our flagship Fly studio at NOLNK.
- Seat height: We always start here when setting up our bikes. Generally, a good frame of reference is adjusting the seat to hip bone height when you’re standing next to the seat. Once you are seated in your saddle, press one leg all the way to the bottom of the pedal rotation closest to the floor. When your leg is down & your knee is not locked out, you should have a slight bend in your knee.
Bad fit warning sign: your knees are never able to full extend or locking out at the bottom, which can put extra stress on your knees while in or out of the saddle.
Good fit check: You don’t feel like you’re reaching for the bottom of your pedal stroke but it’s tall enough so that your knees are just slightly bent at the bottom.
- Handlebar height: This is largely due to preference. We typically start new riders with their handlebars a few notches higher than their bike seat. This allows them to get comfortable on their cycle bike & master form before adding in extra core challenge. The longer you come, you might start to drop your handlebars down to challenge yourself to keep your core engaged throughout class.
Bad fit warning sign: If your handlebars are too low & you’re not engaging your core, you might put stress on your lower back. If you’re feeling sore in your low back/hips after cycling, you might need to bring up your handlebars.
Good fit check: your arms can be slightly bent when in and out of the saddle and there isn’t pressure in your low back while riding in the saddle.
- Horizontal axis from seat to handlebars: You can use the distance between your elbow and fingertip as a frame of reference for the distance between your handlebars & seat. Connect your elbow to the front of the seat and reach forward with straight fingers toward the handlebar. You want to make sure you’re fairly centered on the bike (not pushed all the way forward or all the way back). If you have longer arms or a longer torso, you might want to create extra length in this adjustment, or less distance if you arms or torso are shorter.
Bad fit warning sign: If you’re too far forward or back from the center of the bike, you could put extra stress on your knees or back or find yourself leaning into your arms too much while riding.
Good fit check: you should be able to comfortably ride with your hands in first position without feeling cramped and just barely reach out to third position while in the saddle.
We always recommend our riders periodically check in on their cycle bike setup throughout their membership and adjust as needed. You can always ask a Fly Crew Member to help you get your best fit.
